Before the First Length of Tubing Goes Down
Most people underestimate how much a watering system is really an organizational problem. You have a water source, a set of growing areas that may not be arranged in any convenient line, and a need for each plant to receive consistent moisture without you standing outside holding a hose. Getting from point A to all those scattered points B requires the same thinking you’d apply to routing electrical cords or planning kitchen drawer zones - you map it before you touch a single component.
The system described here was built for a garden made up of raised beds, container sections, and an in-ground plot. That variety is what makes the planning stage non-negotiable. A single layout that covers only one bed type won’t stretch to cover three.
Supplies were ordered individually from Hoss Tools rather than through a premade kit - a decision that allowed for a fully customized configuration rather than forcing the garden to fit a box.
Drawing the Map First
The first real task was sketching the garden on paper. The sketch included every bed, every container cluster, the in-ground plot, and - most importantly - the spigot location. From the spigot outward, thicker lines on the sketch indicated where the mainline tubing would run. Thinner lines branching off those showed the ¼-inch mini drip tubing that would extend along individual planting rows.
Soil type directly affects how far apart those thinner lines need to run. In rich, healthy soil with good water retention, mini drip tubing can be spaced 18 inches apart. In sandy soil that drains rapidly, the spacing drops to 12 inches to compensate for how quickly moisture disperses. Getting this wrong means either waterlogged roots or dry patches - both of which create exactly the irregular watering problems you’re trying to prevent.
Once the sketch was done, the parts list followed naturally from it. Every place the mainline tubing would bend sharply enough to restrict flow needed a connector. Gradual bends in the more flexible mini tubing didn’t require the same treatment, which kept the parts count manageable.
The Parts and What Each One Does
Understanding the component list is where the organizational logic becomes clearest. Each part has a specific job, and knowing those jobs prevents both over-ordering and the more costly mistake of missing something mid-installation.
Figure-8 end clamps sealed the open ends of the mainline tubing wherever a line terminated. Mainline coupling connectors handled the opposite situation - joining two sections of mainline tubing together when a single length wasn’t enough to reach. Tee connectors directed the mainline into different beds and garden zones, while elbow connectors handled turns up into raised beds where the tubing needed to change direction more sharply.
The ¼-inch transfer barbs connected sections of mini drip tubing to each other and also served as the junction points where mini tubing branched off from the mainline. Poking the holes for those barbs required a hole punch tool - without it, creating a clean, leak-resistant opening in the mainline wall isn’t really possible. Goof plugs sealed off the ends of the mini tubing runs. A PSI regulator and filter combination sat at the spigot end of the whole system, filtering incoming water and reducing pressure to a level the drip lines could handle without blowing connections apart.
Why Pressure Regulation Matters More Than Most People Expect
Household spigots typically run at pressures far above what drip emitters are designed to handle. Without a regulator, fittings pop, tubing splits at connection points, and the careful layout you spent time planning fails at the first test run. The PSI regulator isn’t an optional upgrade - it’s what makes the rest of the system function as intended.
Automating the Schedule
A drip system can run manually, but attaching a timer to the spigot removes the need to track watering schedules entirely. This matters more than it sounds. Inconsistent watering - too much one week, too little the next - contributes directly to problems like blossom end rot in tomatoes and stunted vegetable production. It also encourages powdery mildew when plants are periodically drenched by overhead watering rather than receiving steady moisture at soil level.
Drip lines keep foliage dry by directing water downward to root zones rather than spraying it across leaves. That single difference in delivery method reduces fungal pressure significantly compared to sprinklers or hand watering with a hose.
The Rodent Problem Nobody Mentions Until It Happens
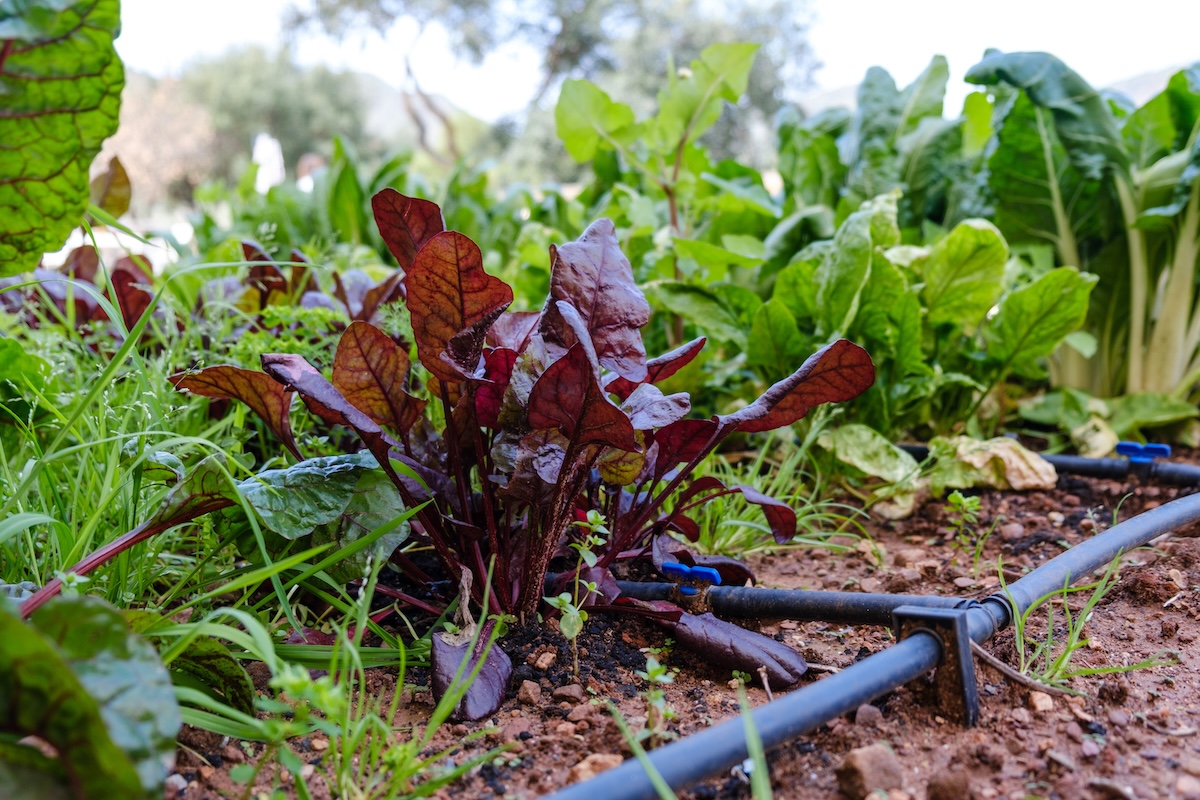
Running drip lines through or along raised beds introduces an exposure risk that doesn’t come up in most installation guides: rodents chew through irrigation tubing. The ¼-inch mini drip lines are particularly vulnerable because of their small diameter and the fact that they often run at or just below soil level where rodent activity is highest.
There are a few practical ways to reduce this. Burying mainline tubing slightly deeper than the surface makes it less accessible. Wrapping exposed sections with metal mesh or routing them through rigid conduit where they cross open ground removes the easy chewing opportunity. Some gardeners apply rodent deterrent spray to the tubing exterior, though that requires reapplication after rain. The most reliable long-term approach is physical barriers - anything that puts solid material between a rodent and the tubing itself.
Mini drip lines running through raised beds can be protected by threading them through lengths of metal hardware cloth before placing them at soil level. It adds time to the installation but prevents the frustration of diagnosing a sudden pressure drop and finding a chewed line as the cause.
What Changes on the Second Installation
The system worked, but there are adjustments worth making the second time around. The sketch-first approach is worth keeping exactly as described - it’s not an optional planning step but the thing that determines how many of each connector type to order. Ordering short on tee connectors or transfer barbs means a mid-project hardware run that could have been avoided.
Spacing calculations based on soil type are also worth revisiting each season if the soil composition changes. A raised bed that started with loose, amended soil may behave more like clay after several seasons of organic matter breaking down, changing how water moves through it and how close the mini tubing lines need to run.
The PSI regulator and filter combination should be checked at the start of each season. Sediment accumulates in the filter over time and can reduce flow enough to leave the furthest emitters in the system delivering less water than the ones closest to the spigot. Cleaning or replacing the filter is a ten-minute task that keeps output even across the whole layout.
One component worth adding on a second build: a backflow preventer between the spigot and the regulator. It’s a small fitting that stops water from siphoning back from the garden into the household water supply - a detail that matters if the system is ever left connected and under pressure while not running.
The Hoss Raised Bed Drip Irrigation Kit covers a small raised bed garden with all the tubing and basic tools included, and costs enough less than individually sourced parts to be worth comparing before ordering components separately.