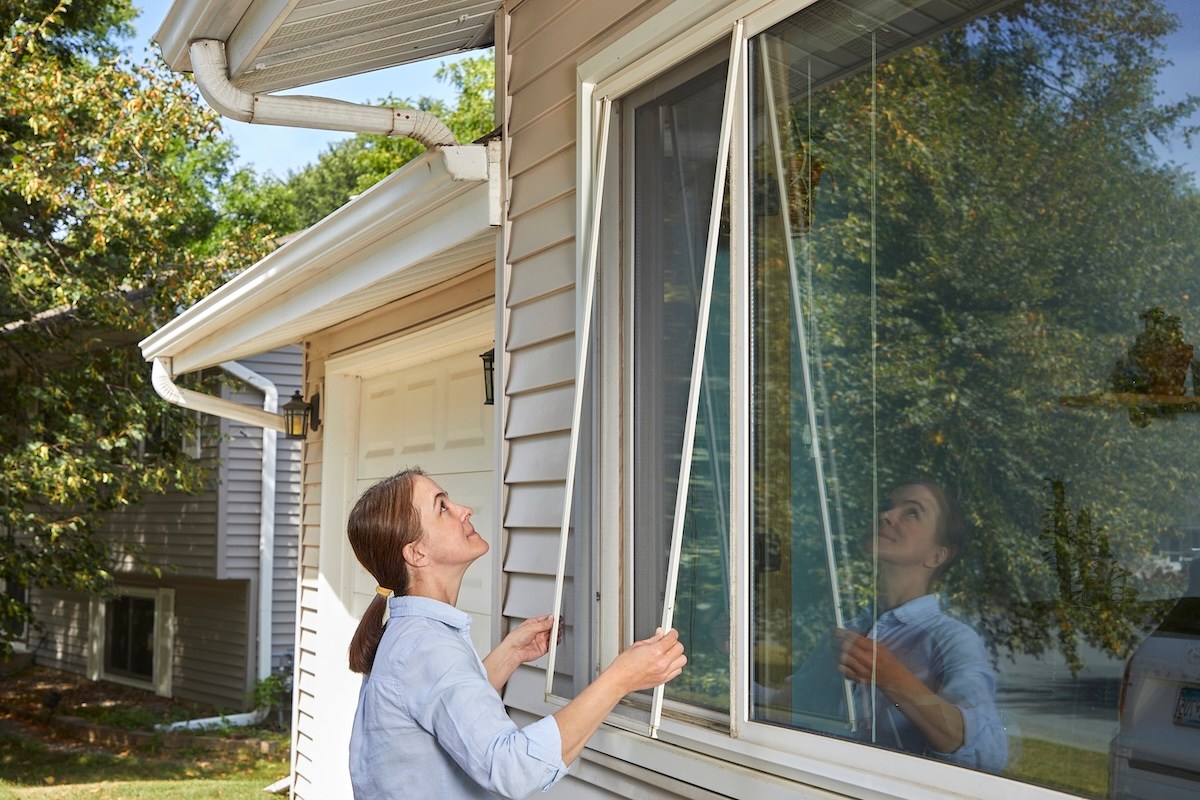
Why a Damaged Screen Is Worth Fixing Promptly
A window screen with a snag, tear, or hole does significantly less work than an intact one. Even a small gap is enough for insects and airborne debris to pass through, which defeats the purpose of having a screen at all. The good news is that replacing the screen material itself - not the entire frame - is a straightforward job that requires only a handful of inexpensive tools and materials.
This guide covers the full replacement process step by step, followed by some practical notes on cleaning and storing screens so the new material lasts.
What You Will Need
Before starting, gather the following:
- Window screening material (typically sold on a roll)
- Spline (the plastic cord that holds the screen in the frame channel)
- Screen rolling tool (has a convex wheel on one end and a concave wheel on the other)
- Small flat-head screwdriver
- Nail punch or other sharp object
- Scissors
- Small clamps or tape
- Utility knife
The frame itself is a metal rectangle. The screening is secured to it by the spline, which sits in a narrow channel that runs along the inside perimeter of the frame. When you replace the screen, you are removing the old spline, pulling out the damaged screen material, and pressing new screen and new spline back into that same channel.
Step 1: Remove the Old Screen and Spline
Start by lifting the spline out of its channel. A small flat-head screwdriver, nail punch, or any sharp object with a narrow tip will do the job - work it under the spline at a corner and pull carefully. The spline should come out in one or two long pieces.
Set the old spline aside rather than throwing it away. You will bring it to a home improvement store to match the size of the replacement spline, since spline comes in different diameters and using the wrong size will make proper installation difficult.
With the spline removed, pull out the damaged screen material and discard it (or repurpose it, since small pieces of screen material have plenty of uses around a workshop).
If the frame has accumulated dirt, this is a practical moment to wash it while you are already handling it. Let it dry fully before moving on.
Step 2: Cut the New Screen to Rough Size
Lay the metal frame flat on a clean, level work surface. Unroll enough screen material to cover the entire frame, then add 2 inches on all four sides before cutting. That extra material gives you enough to work with during installation and is trimmed off at the end.
Screen material is sold on a roll and has a natural curve to it. When you unroll it and position it over the frame, place the curved side face down. This makes the material easier to manage during the next step, since it will tend to lie flatter against the frame rather than curling up at the edges.
Step 3: Position and Secure the Screen Over the Frame
Lay the cut screen material over the frame, checking that it overlaps the metal edge on all four sides. Before you start pressing it into the channel, pull the screen taut and secure it temporarily - tape or small clamps attached to the top and bottom edges of the frame both work for this. The goal is to prevent the material from shifting or bunching while you work the spline in.
Keeping even tension across the screen at this stage makes a meaningful difference in the finished result. A screen installed with slack in it will sag in the frame and may be harder to re-seat properly.
Step 4: Press the Screen Into the Channel and Install the Spline
This is where the screen rolling tool earns its place. Starting at one side of the frame, use the convex wheel of the tool to press the screen material down into the channel that runs around the frame’s perimeter. Work steadily around the frame, keeping the material taut as you go.
Once the screen is seated in the channel on all sides, switch to the concave wheel on the same tool and use it to press the plastic spline into the channel on top of the screen. The spline locks the screen in place. Again, work around the perimeter rather than jumping from side to side, and keep tension on the material throughout.
The spline should sit flush in the channel. If it is riding above the surface or buckling, the channel size and the spline diameter may not match - which is one reason to bring the old spline to the store when buying replacement material.
Step 5: Trim the Excess and Reinstall
With the spline fully installed, trim away the excess screen material using a utility knife. Cut along the outside edge of the spline rather than directly against it. Angle the blade slightly away from the spline as you cut to avoid accidentally slicing into it - cutting through the spline would mean starting that section over.
Once the excess is trimmed, the screen is ready to go back into the window frame.
Cleaning Window Screens: What Works and When
Even an intact screen will gradually reduce airflow and visibility if it is not cleaned. Dirt, pollen, and other debris collect on screen mesh over time, and at minimum, screens benefit from cleaning once a year. More frequent cleaning may be appropriate in areas with heavy pollen seasons or near construction.
The method is straightforward: apply a mild soap-and-water solution to the screen surface and lightly brush it to work the solution through the mesh. Follow with a rinse of clean water, then wipe the screen dry. This approach applies to the screen material itself - avoid soaking the frame corners, where moisture can collect.
There is no need for specialty cleaning products for routine screen maintenance. Mild dish soap diluted in water is the commonly used starting point for this kind of cleaning.
Storing Screens in the Off-Season
Screens can be damaged by snow and ice, so it is worth removing them before winter and storing them somewhere dry - an attic or basement both work for this purpose. Storage in a protected space also reduces wear from UV exposure and temperature fluctuations.
When removing screens for storage, the process of taking them out and reinstalling them is actually when screens are most likely to be bent or torn. Working slowly and supporting the frame fully on both sides reduces the risk of bending the frame, which can make reinstallation difficult and may cause the spline channel to warp.
Choosing Screen Material for Your Household
Most window screening is made of fiberglass. For households with dogs or cats, heavy-duty pet-resistant screen material is available as an alternative. This type is designed to withstand more physical stress than standard fiberglass screening, which cats and dogs can push through or tear with little effort.
When shopping for replacement screening, bring the old spline with you to confirm the diameter, and consider the specific demands of your windows - south-facing windows with heavy sun exposure, or windows that open frequently, may benefit from more durable material regardless of whether pets are a factor.
Fiberglass screen material is the standard starting point for most replacements. If your frames are older, check the channel depth before buying spline, since worn or bent channels can make it harder to seat the spline fully, regardless of which material you choose.